


Unpigmented
Couldn't load pickup availability
How to Use Unpigmented Milk Paint
Unpigmented milk paint is a versatile, natural powder you mix and tint yourself. It bonds exceptionally well to porous surfaces and can be customized with pigments to create beautiful, matte finishes on furniture, cabinets, walls, and decorative projects. Here's a complete, step-by-step guide.
1. Mixing the Base
- Combine the unpigmented milk paint powder with warm or room-temperature water at roughly equal parts by volume (1 part powder to 1 part water) for a standard consistency.
- Adjust as needed:
- More water → a thinner wash, stain, or translucent effect.
- Less water → a thicker, more textured paint.
- Mixing technique: Start by making a smooth paste with a small amount of water to avoid lumps, then gradually add the rest and stir thoroughly. Let the mixture rest for a minute or two before adding pigment (see methods below).
Tip: Mixed paint stores well for days to weeks in an airtight container. Stir well before each use.
2. Adding Pigments
Use lime-proof pigments — most earth pigments, oxides, and natural mineral pigments work well — since the lime in the formula can cause some colors to fade over time. Always test a small batch first.
Recommended starting ratios (measure by weight for best consistency, ideally with a small scale):
- Dry mix method (best for small batches): roughly 1 part pigment to 9–10 parts paint powder by volume — about 10–15% pigment for oxides and primaries, or 15–20% for natural earths, ochres, and French minerals (relative to the dry base powder weight).
- Wet mixing / slaking (better for larger batches or pigments like Titanium White): pre-mix the pigment with an equal amount of water into a smooth, lump-free paste, then stir it into the prepared milk paint base. Let it rest and mix well.
Steps:
- For small tests, shake pigment and dry base powder together vigorously in a sealed container to disperse evenly.
- Add water to the combined dry mix (roughly 1:1, or slightly more).
- Experiment with different pigment amounts and color combinations — you can go up to 20–40% pigment before the mixture starts to break down, but test thoroughly as you go.
Notes:
- Don't overuse pigment — too much can weaken the binder, cause powdering, or make the paint too thick and brittle.
- For strong whites or blacks, buy pre-pigmented versions from the manufacturer rather than tinting heavily yourself.
- To lighten a color, mix your tinted base with white milk paint rather than simply reducing pigment.
- The base needs some pigment to stay stable — too little can make it brittle.
Starter tips: Begin with just a few grams of pigment per test batch. Powdered pigments are available at art stores and online; water-soluble universal tinting colors can also work. Always test on a sample patch before committing to a full piece.
3. Application
- Apply with a brush or roller.
- Coats needed: usually 1–2. Thinner mixes often need 2 coats; thicker mixes may need only 1.
-
Adhesion:
- Bonds extremely well to porous substrates — it almost "cements" on.
- Also works well on non-porous or low-sheen previously finished surfaces.
- For high-sheen or shiny surfaces: clean thoroughly, then apply one coat of Ultra Grip (dries clear) or a Fusion Mineral Paint color. Apply the milk paint the next day — it will adhere very well.
4. Finishing & Sealing
Milk paint is naturally porous, so sealing is recommended for durability, water resistance, and easier cleaning — especially on furniture.
Recommended sealers:
- Furniture wax
- Hemp oil
- Tung oil (for exterior use)
- Stand oil or similar (sometimes labeled "SFO")
Distressed / chippy effect (optional):
- Apply a small amount of Homestead House Salad Bowl Finish or Fusion Beeswax Finish (both fairly oily) to selected areas first — this acts as a resist.
- Once dry, apply your milk paint over top. The treated areas will naturally chip and crackle for an aged, distressed look.
Sealer notes:
- Test sealers on a small area first, since they can affect the final color depending on the pigments used.
- Water-based sealers tend to mute colors more than oil- or wax-based ones — experiment to find your preferred look.
5. Coverage & Final Tips
- Coverage varies with mixing thickness, pigment load, application technique, surface, and number of coats.
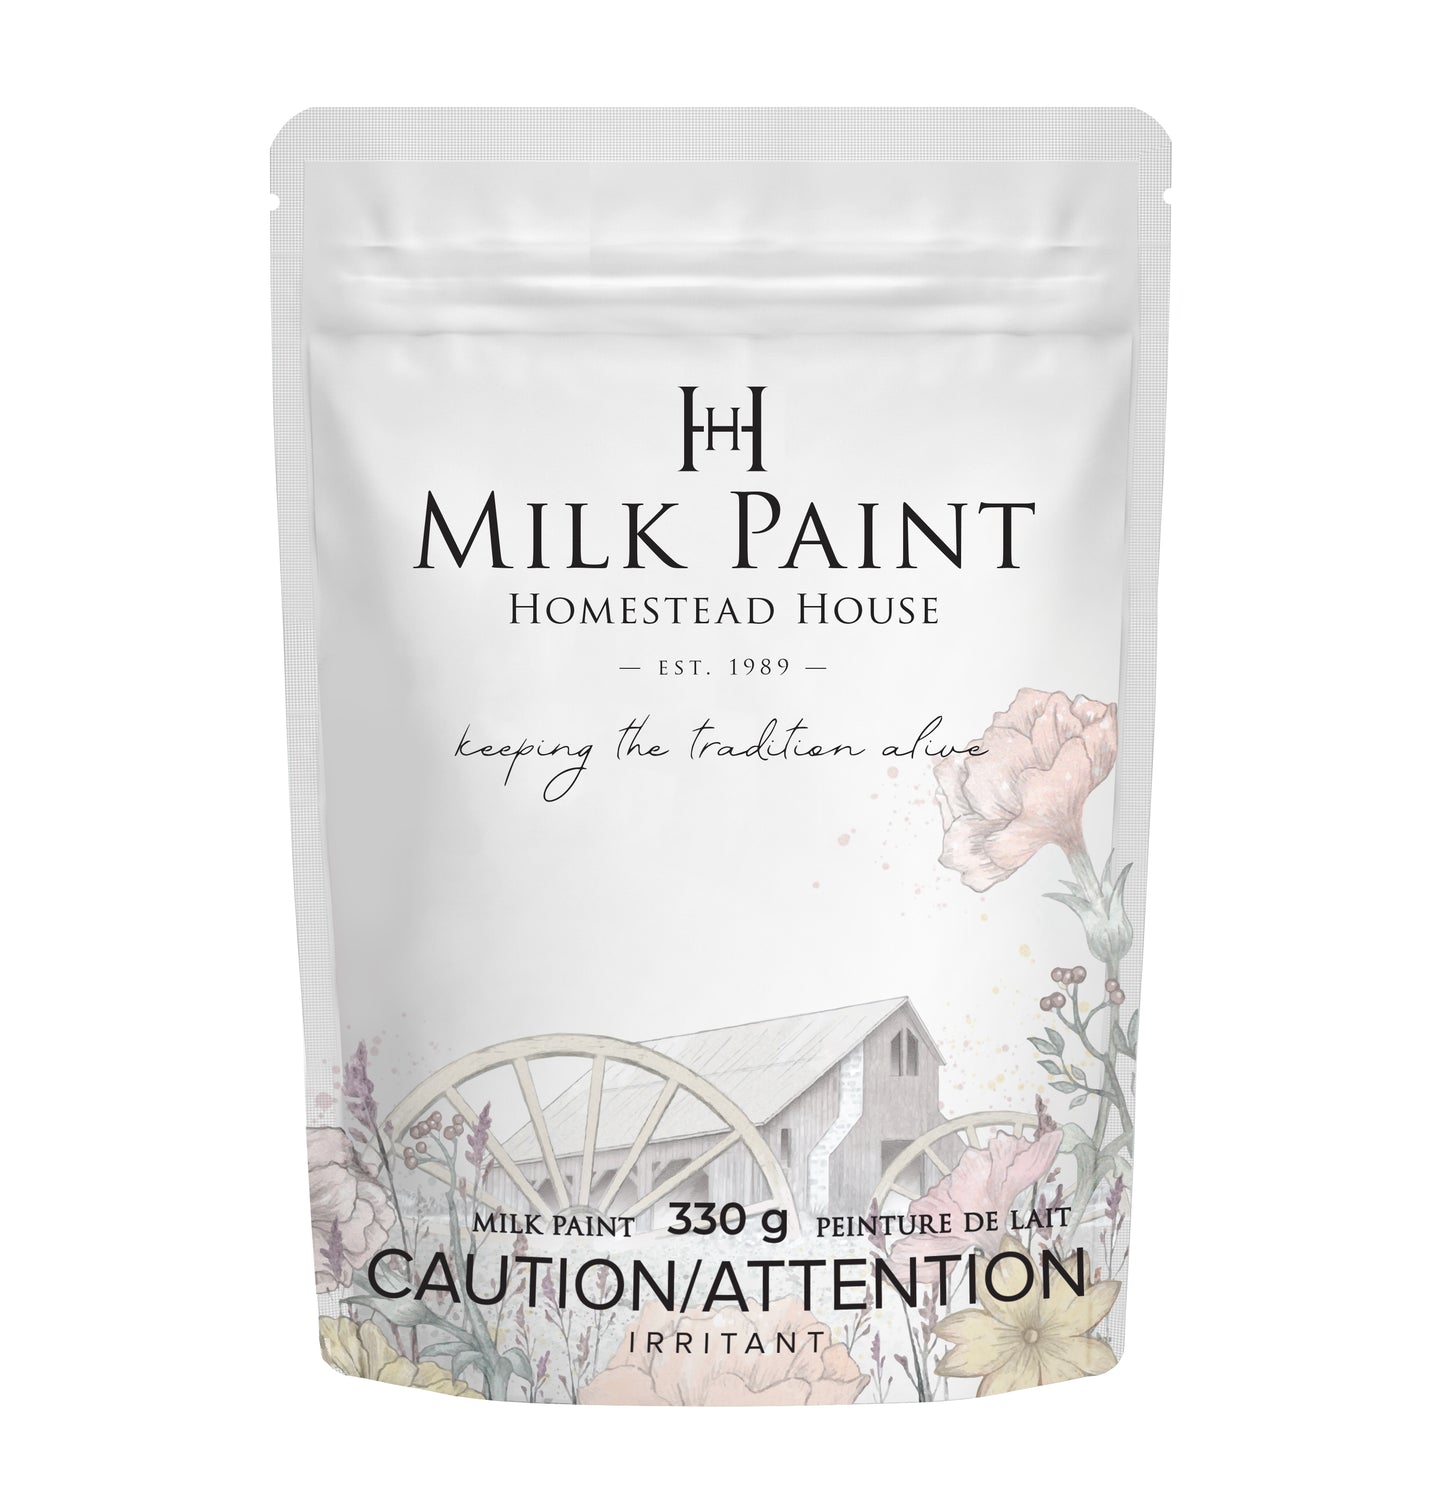
- As a rough guide, a 330 g bag typically covers about 100 sq ft when mixed at standard consistency. Heavily pigmented colors (e.g., Belle Fleur, Montclair, Beret) may cover slightly less due to higher pigment content.
- Always test on a sample board first.
General advice:
- Milk paint works well for furniture, cabinets, walls, and décor.
- Always seal furniture that will be cleaned regularly, used for food or drinks, or placed near a water source.
- Stick to the standard 1:1 powder-to-water ratio (including pigment) as your baseline — more water gives a wash-like stain, less gives a textured paint.
- Experimentation is key. Small test batches will save you time and give the best results.
This process gives you full creative control over color while preserving the authentic, beautiful qualities of traditional milk paint. Enjoy your project — and if you have questions about specific pigments or surfaces, just ask.
DIRECTIONS
DIRECTIONS
BENEFITS
BENEFITS
FREQUENTLY ASKED QUESTIONS
FREQUENTLY ASKED QUESTIONS


GETTING STARTED
Learn how to prep your furniture, apply our paint, choose a top coat or brush for your perfect project by checking our our free getting started guides.
