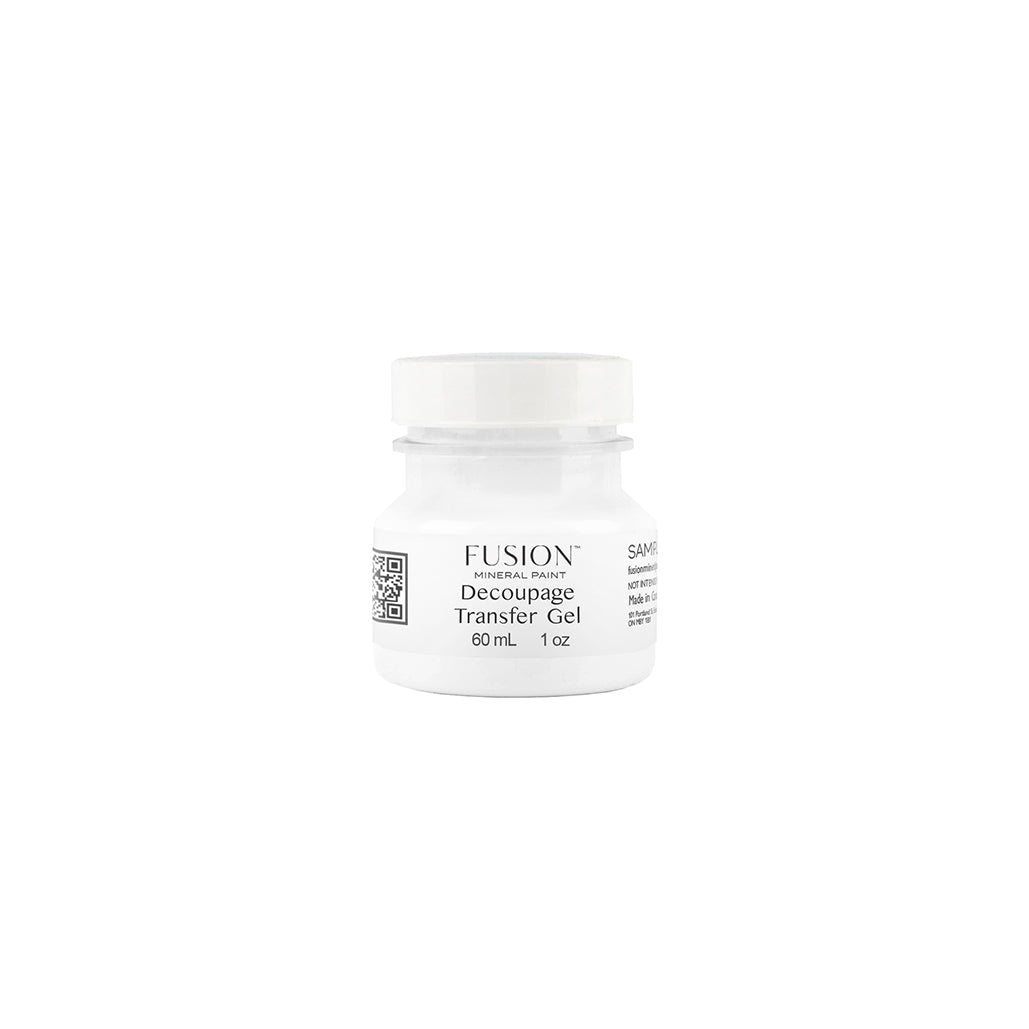
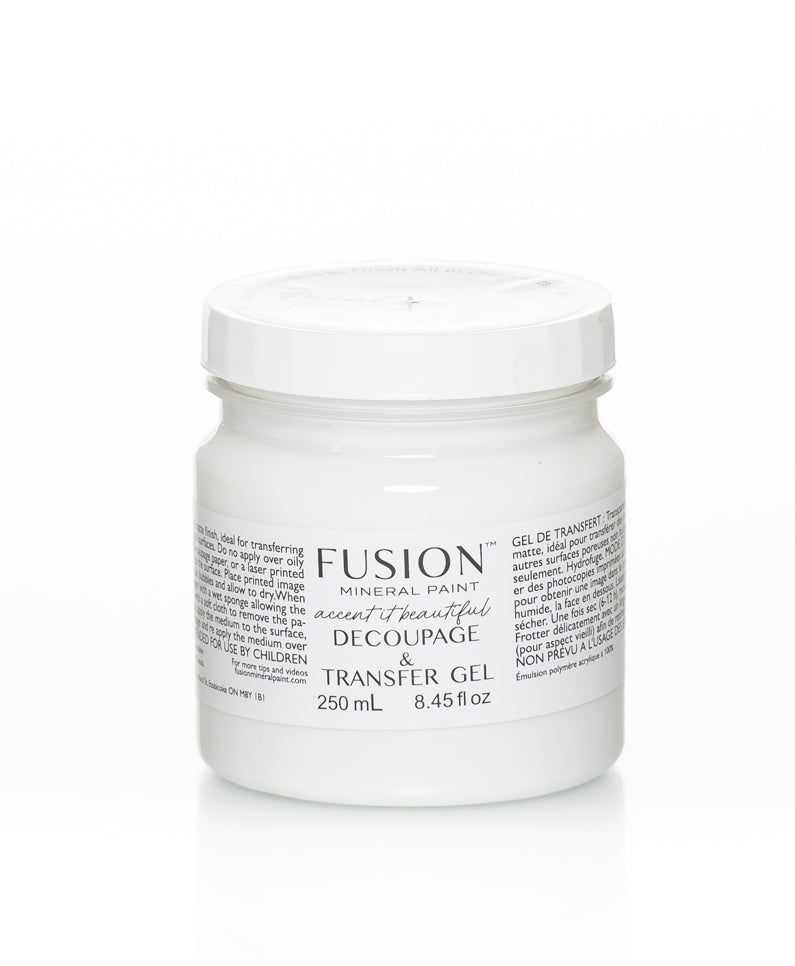
Decoupage & Transfer Gel
Couldn't load pickup availability

| Application Tool | Brush |
| Re-coat Time | 2-6 hrs or when dry |
| Top Coat | Not required - however any topcoat can be applied if desired. |
| Clean Up | Water |
| Coverage | 35 sq.ft. |
| Finish/Sheen | Matte |
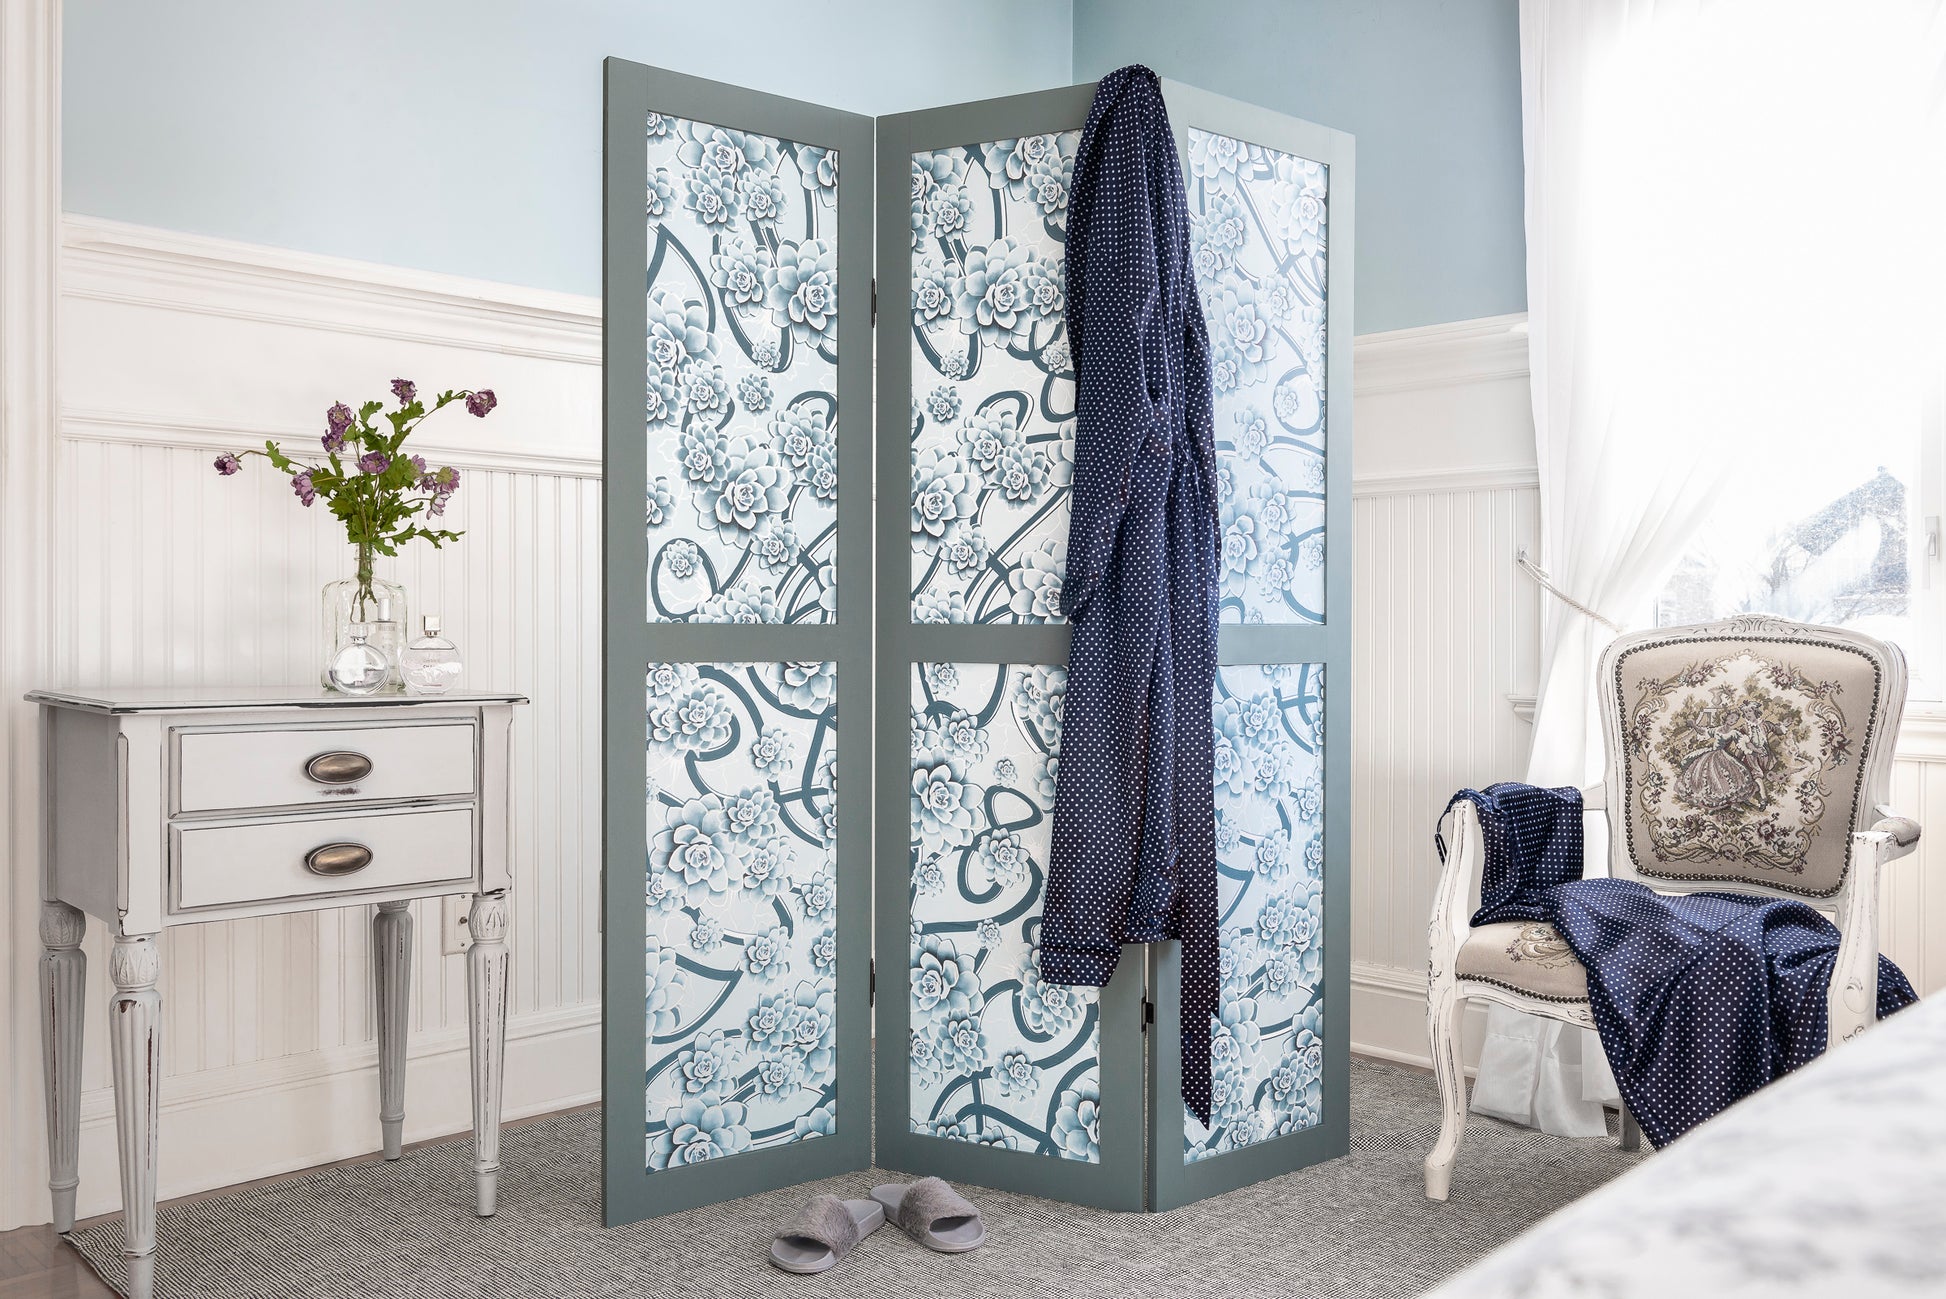
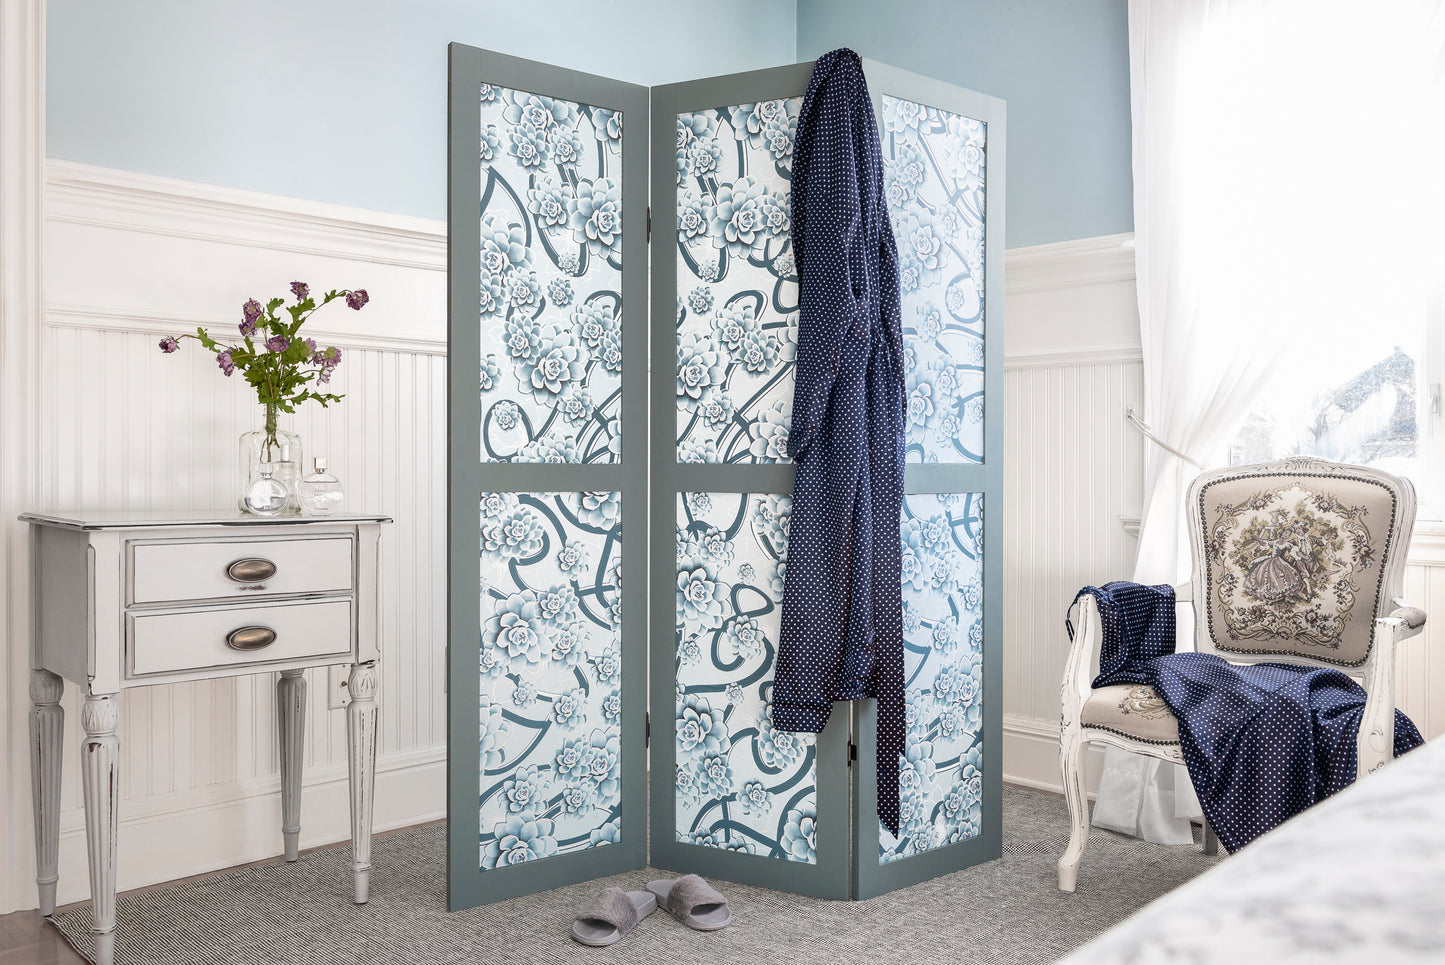
| Recommended Uses | Decoupage textiles onto a surface; transfer a printed image onto a surface |
| Can Be Applied To | Fabric, Metal, Painted surfaces. Non-oil, no-wax surfaces. |
| Can Be Painted Over | Yes |
| How to Prep | Apply to a clean, wax or oil-free surface |
| Cure Time | 21 Days |
| Maintenance/ Cleaning | Clean as required, with mild soap and water. |
DIRECTIONS
DIRECTIONS
Image Transfer:
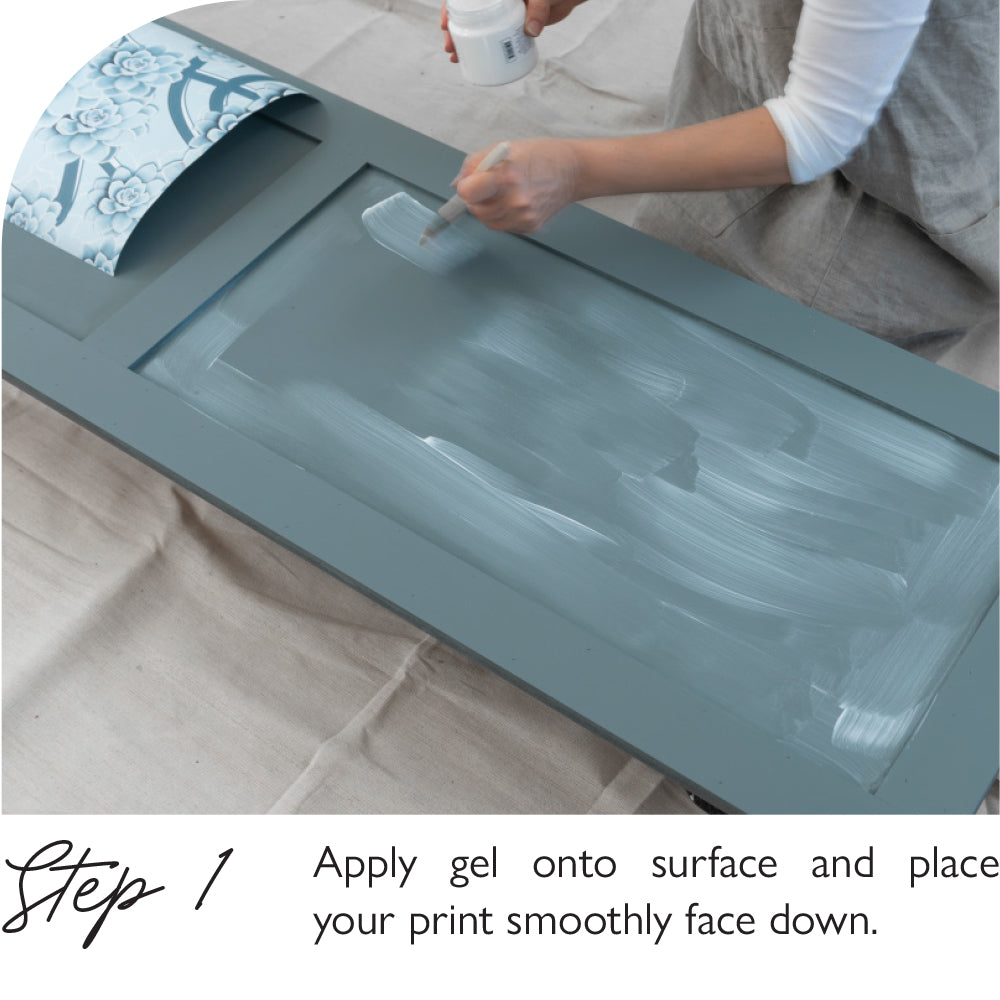
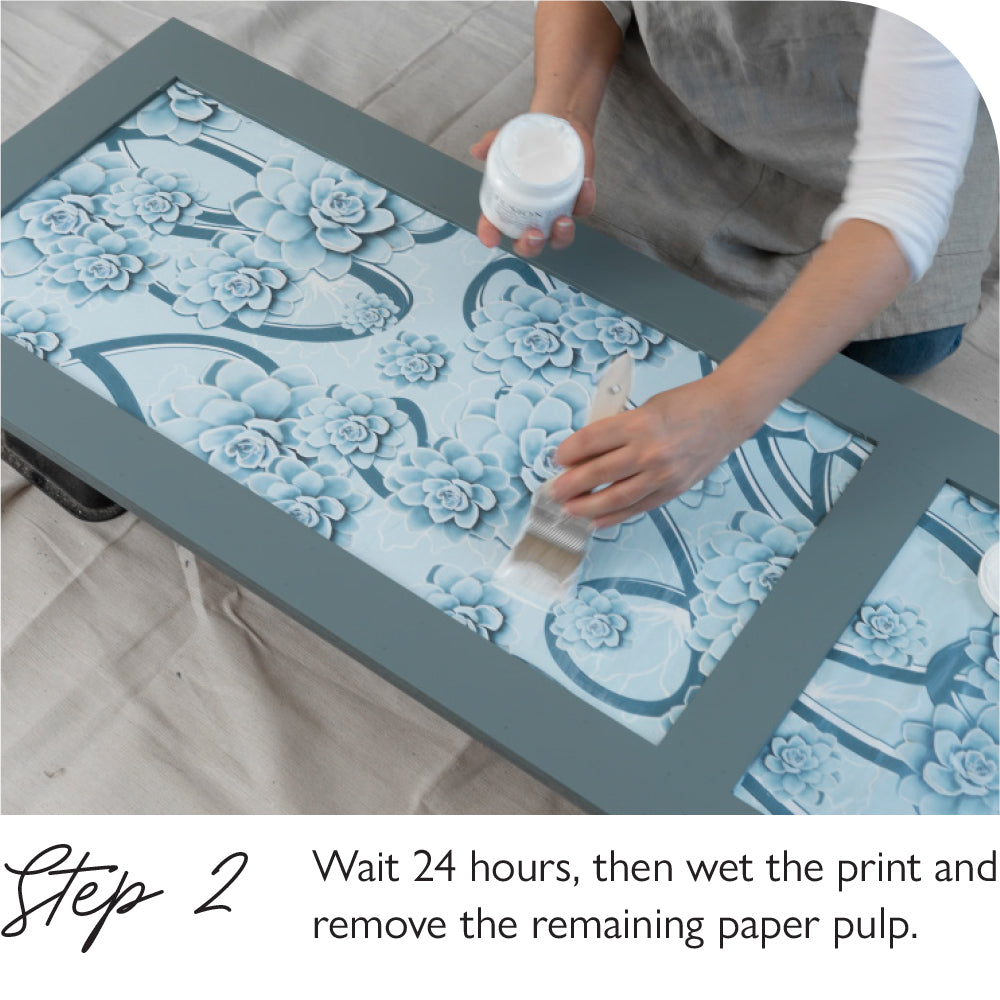
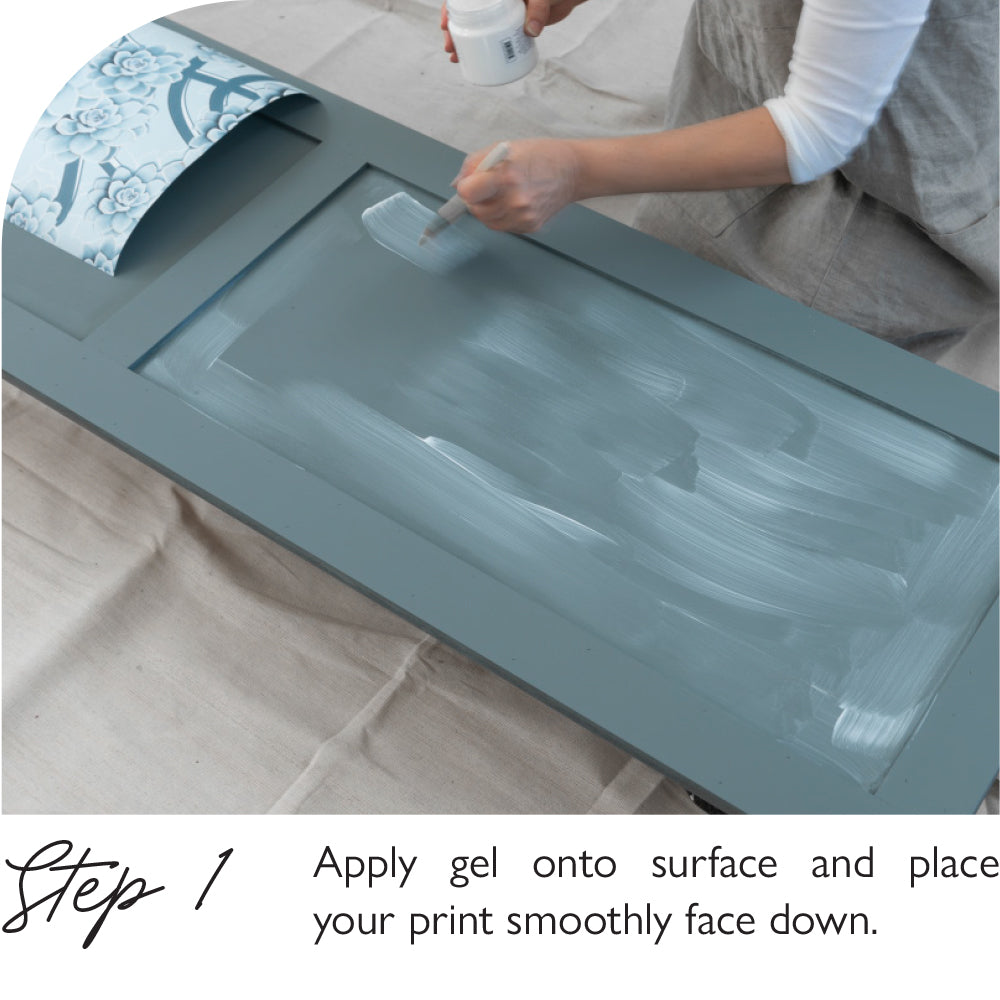
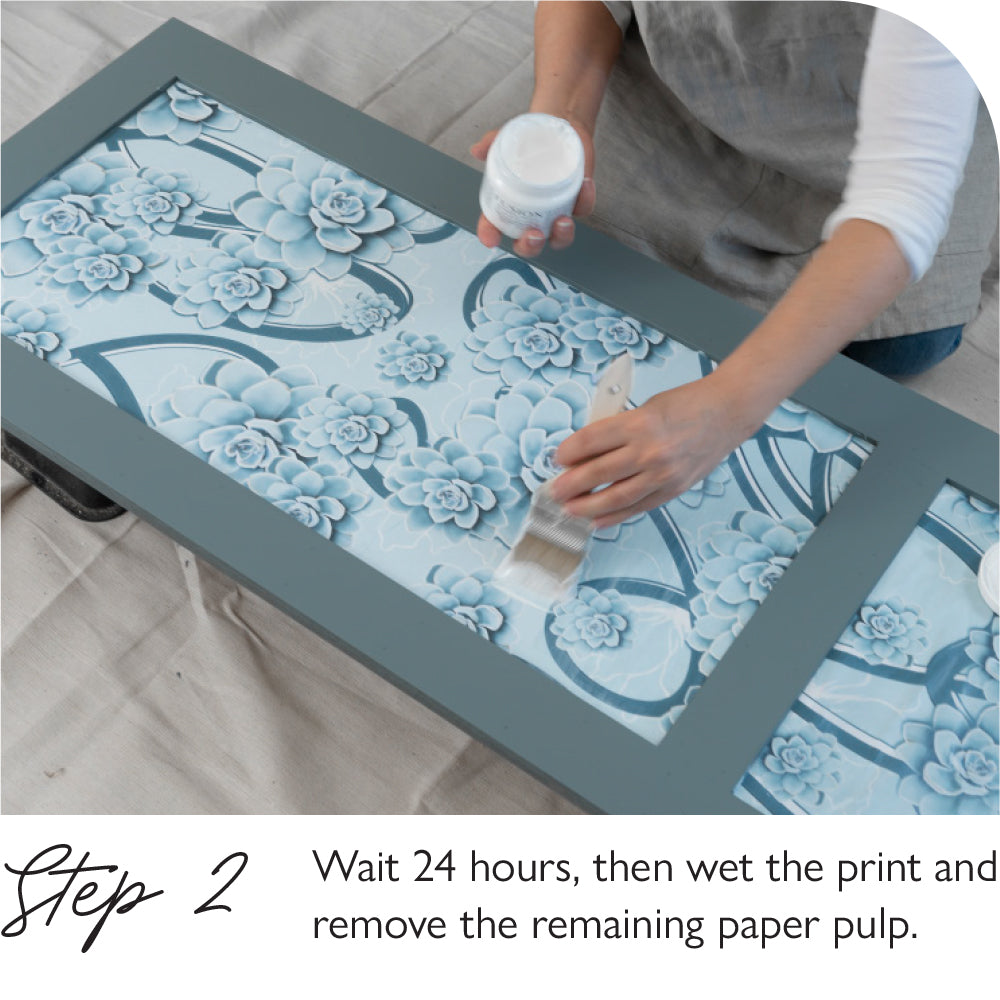
Be sure to use a laser printer, ink jet will not work well. Be sure to print your image backwards. To transfer an image simply apply the Decoupage and Transfer Gel to the surface and place your print face down. Apply pressure with a putty knife or credit card to ensure contact and remove any bubbles. After 24hrs or so you can wet the back and start rubbing away the paper pulp.
You can add wax or another layer of the Decoupage and Transfer gel for protection.
Decoupage:
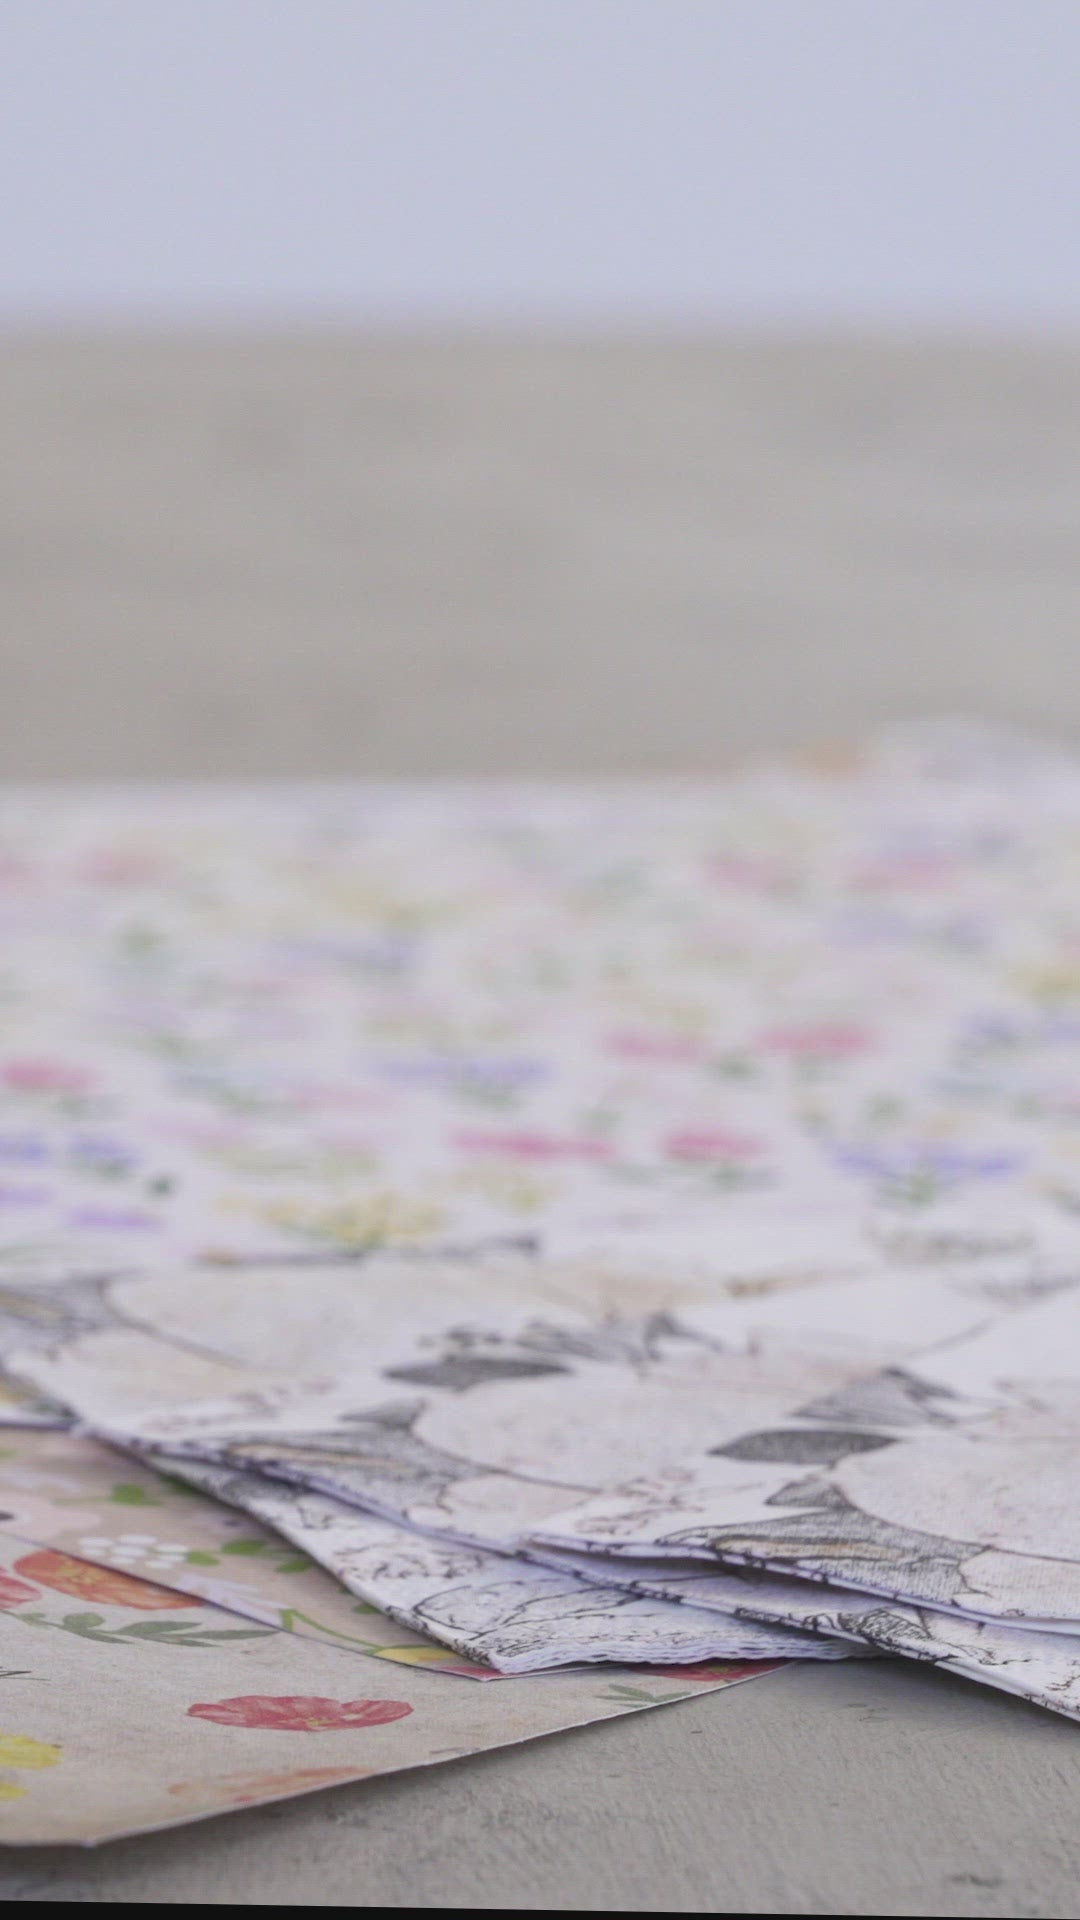
Using our Decoupage Gel apply it to the surface and or the back of the image or tissue/decoupage paper and stick in place you can place cling wrap over the image to smooth out any wrinkles or bubbles.
When dry you can add another coat of the Decoupage and Transfer gel to seal and as protection or any of the other Fusion finishes.
DID YOU KNOW?
- The gel can be used for image transfer and decoupage
- You can use it to seal your project too.
- Can be used on Glass, Metal, Fabric and wooden or painted surfaces.
WHAT WILL IT LOOK LIKE?
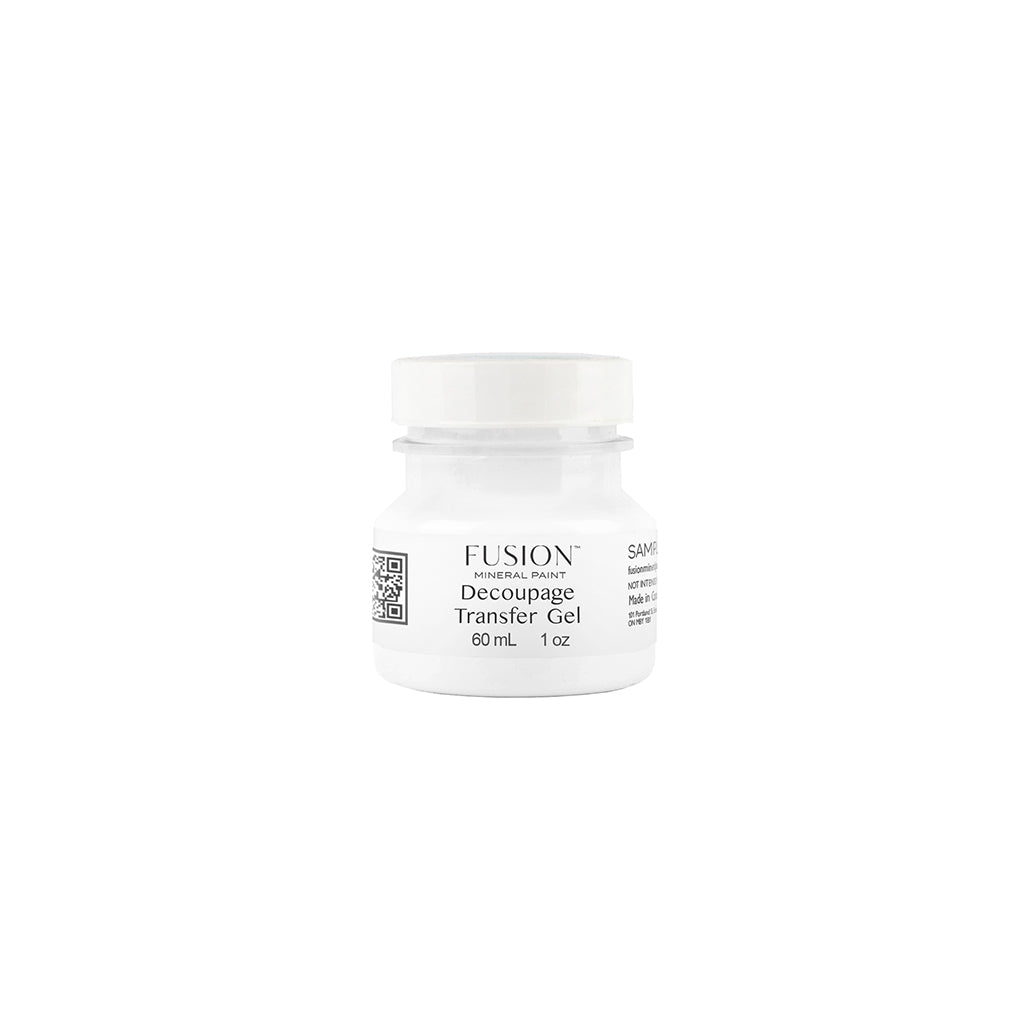
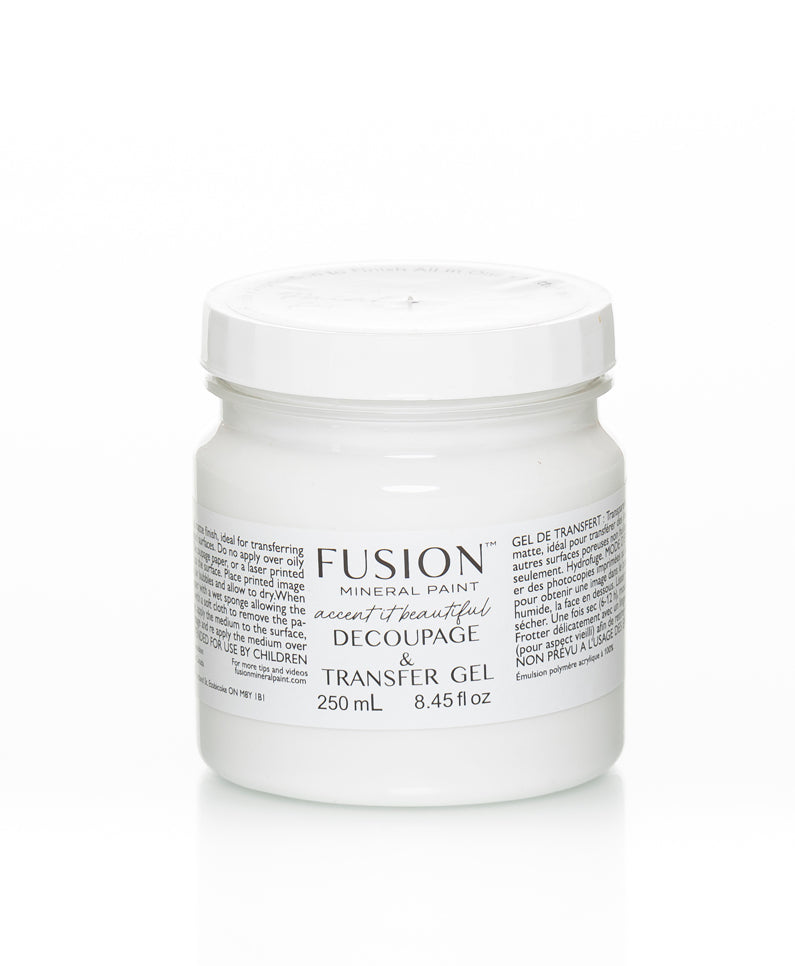
Decoupage and Transfer gel is white but dries to a clear matte film.
CURE TIME
For Decoupage 2-6hrs for dry time and 21 days for cure time.
For Transfers - you will want to wait a minimum of 12-24 hours before wetting the paper and trying to complete the transfer.
BENEFITS
BENEFITS
WHAT ELSE CAN IT BE USED FOR?
It can be used as a topcoat over your decoupage or transfer projects. It would be a great topcoat for crafting too.
As with all Fusions water based products it can be layered! So you can add a glaze or a topcoat no problem!
FREQUENTLY ASKED QUESTIONS
FREQUENTLY ASKED QUESTIONS
How do I decoupage?
To decoupage, you want to essentially “glue” your material to your surface. You can apply the Gel onto the surface and place your material. Smooth it out or scrunch it up how you like it, and then for extra adhesion you can add another coat of Gel on top.
How do I transfer a photo?
For photo transfer, you need to make sure you use a laser printer. A lot of times you’ll also want to reverse your photo before you print it, as it will apply backwards. Next, apply a bit of Gel to the front of the photo and to the surface you are transferring onto. BLOG
Can I use this over Fusion Mineral Paint?
Yes!
Can I use Fusion Mineral Paint over this?
Yes!
Read all about the most frequently asked questions on our FAQ page.
PRODUCT MSDS
PRODUCT MSDS
GETTING STARTED
Learn how to prep your furniture, apply our paint, choose a top coat or brush for your perfect project by checking our our free getting started guides.
-
SHIPPING & RETURNS
SHIPPING & RETURN POLICIESWe strive to ship out every order within 2-3 days from ordering. If your order is placed before 10AM EST then consider that Day One. Please read more about our shipping policy here.
-
PROJECT INSPIRATION
THE FUSION BLOGDiscover all the different ways Fusion Mineral Paint has been used in varying projects. Get ideas, learn techniques, and get inspired! Check out our Fusion blog right here.

